How to prepare your irrigation system for cold weather before a routine fall shutdown becomes an expensive spring repair
There is a moment every fall when the irrigation season changes.
The grass is growing more slowly. The days are shorter. The nights get colder. The sprinkler system that worked almost unnoticed all summer suddenly becomes something you need to think about.
In the Intermountain Northwest, that transition can happen quickly.
A warm afternoon does not necessarily mean your irrigation system is safe from freezing temperatures. Elevation, exposure, local weather patterns, and geography can create dramatically different freeze dates from one community to another.
That’s why sprinkler winterization shouldn’t be treated as a date on the calendar.
It should be treated as a freeze-preparation process.
And contrary to what many homeowners believe, winterizing an irrigation system isn’t simply turning off the controller or connecting an air compressor.
It’s about understanding where water is still hiding, which components are vulnerable, and how the entire system should be left when winter arrives.
The Real Enemy Isn’t Cold. It’s Trapped Water.
Irrigation systems are designed to move water.
Winter changes the equation.
When water freezes, it expands. If that water is trapped inside a pipe, valve, sprinkler body, fitting, pump, filter, or backflow assembly, the expansion can put enormous stress on the component.
The result may be a crack that isn’t discovered until months later.
That’s why a sprinkler system can appear completely fine when it is winterized and still fail when it is restarted in spring.
Colorado State University Extension specifically recommends removing water from the irrigation system and its equipment before winter because freezing water can damage pipes, fittings, valves, sprinklers, pumps, and other components.
The important concept is this:
Winterization isn’t about turning the system off. It’s about making the system safe to be off.
Why the Intermountain Northwest Requires a Different Mindset
The Intermountain Northwest isn’t one climate.
A landscape in northern Idaho isn’t experiencing the same winter as one in southern Utah.
A high-elevation property in Wyoming or Montana may encounter freezing conditions much earlier than a lower-elevation property farther south.
Even two properties in the same town can behave differently because of elevation, slope, wind exposure, shade, soil conditions, and the amount of exposed irrigation equipment.
That means there isn’t one universal winterization date.
Instead, watch the trend in the weather.
If the landscape is approaching its end-of-season watering period and freezing nights are becoming a realistic possibility, it is time to start preparing.
University of Idaho Extension notes that irrigation needs fall substantially as the season progresses and that colder portions of Idaho may need to stop irrigation before the end of October.
The lesson isn’t “winterize on October 1.”
The lesson is:
Know your local conditions.
Winterization Starts Before the Compressor Comes Out
One of the biggest differences between a rushed sprinkler blowout and a thoughtful winterization is what happens beforecompressed air is ever connected.
Start with an inspection.
Run the irrigation system normally and look at every zone.
You’re not just checking whether the sprinklers turn on.
You’re looking for clues.
Look for:
- Sprinklers that don’t pop up correctly
- Heads that are leaking after the zone shuts off
- Broken nozzles
- Poor spray patterns
- Water pooling in unusual places
- Damaged valve boxes
- Leaking valves
- Exposed pipe
- Damaged drip components
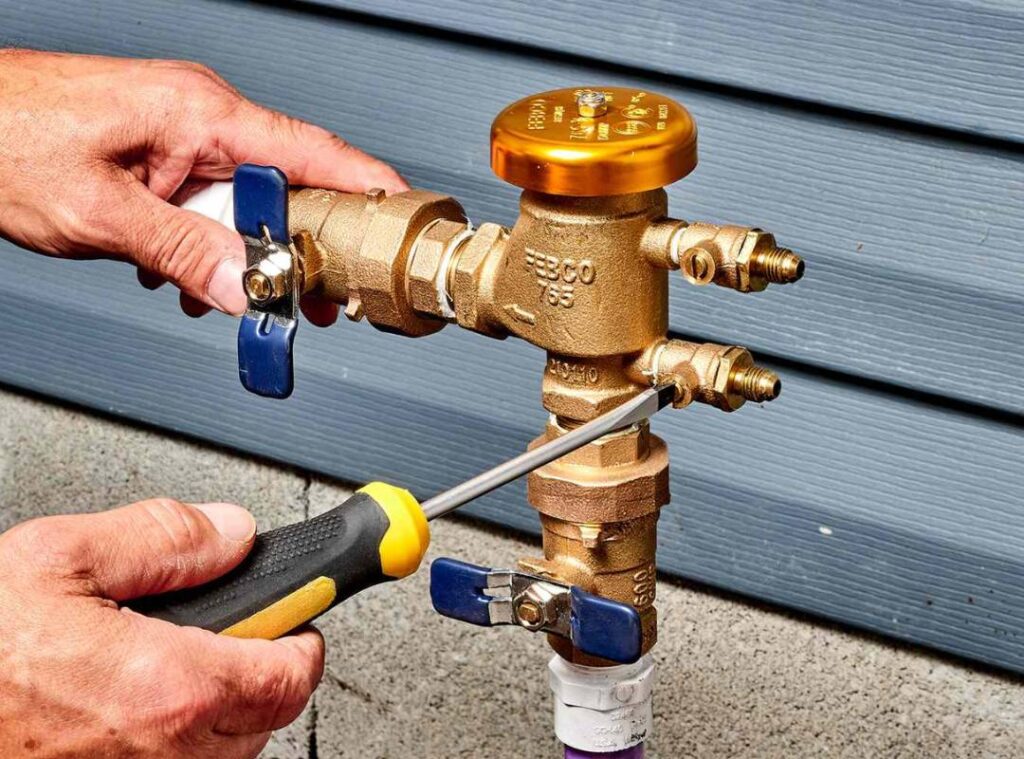
- Unprotected backflow equipment
- Filters that need cleaning
- Pressure regulators that appear damaged
This turns winterization into more than a seasonal shutdown.
It becomes an annual system inspection.
And that can save you from rediscovering the same problem in spring.
Step One: Shut Down the Water
The first real step is separating the irrigation system from its water source.
Locate the irrigation shutoff and close it.
Don’t assume that turning the controller off accomplishes this.
The controller controls irrigation commands.
The shutoff controls water.
Rain Bird similarly recommends shutting off the irrigation water supply as part of winter preparation.
If the system includes a pump, master valve, or other specialized equipment, make sure the shutdown procedure accounts for those components as well.
Step Two: Take the Pressure Out of the System
Once the water supply is shut down, the next objective is to relieve pressure and prepare the system for drainage or blowout.
Depending on how the system was installed, it may use:
- Manual drains
- Automatic drains
- A stop-and-waste arrangement
- Compressed air
- A combination of these methods
This is where one of the most common misconceptions appears:
“If I opened the drain, all the water is gone.”
Not necessarily.
Water can remain in low spots, valves, sprinkler bodies, fittings, backflow assemblies, pumps, and other components.
Hunter specifically notes that even systems equipped with manual or automatic drains can retain water and that the drainage method needs to match the system’s design.
So before choosing a method, understand how your system was built.
Step Three: Decide Whether Your System Needs a Blowout
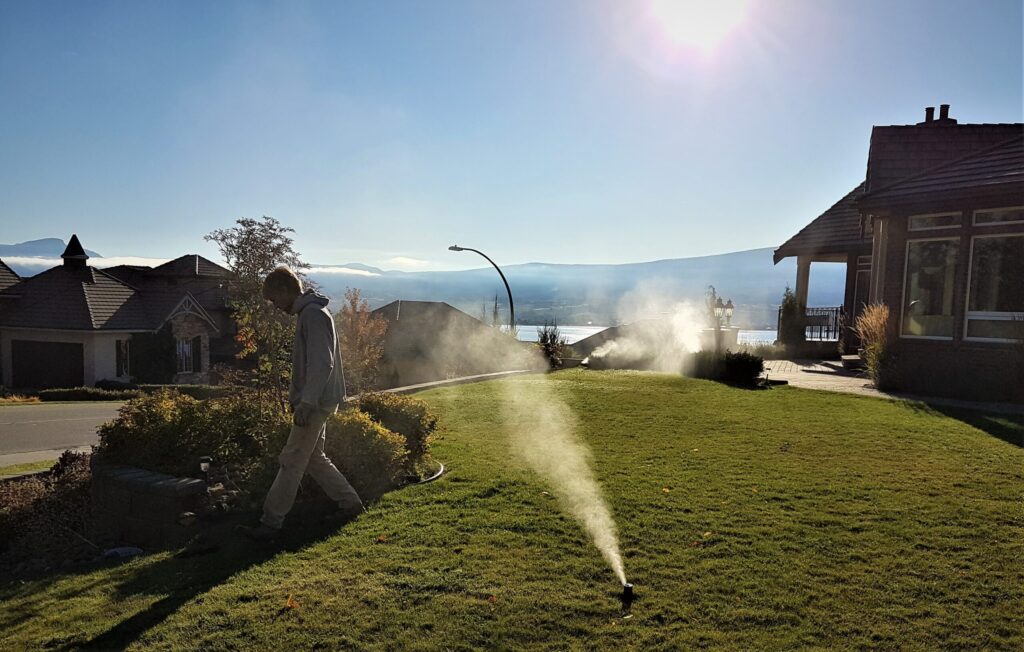
For irrigation systems in climates with prolonged freezing conditions, compressed-air winterization is commonly used to remove residual water.
But compressed air isn’t automatically the answer for every system.
Texas A&M’s School of Irrigation, for example, distinguishes between climates where a blowout is commonly appropriate and milder climates where draining exposed components may be sufficient.
In the Intermountain Northwest, however, prolonged freezing makes thorough winterization particularly important.
If a blowout is appropriate for your system, the objective is not to blast the system with as much pressure as possible.
That brings us to one of the most important ideas in sprinkler winterization:
CFM Matters More Than Brute Force
A common homeowner mistake is thinking:
“More PSI means a better blowout.”
Not necessarily.
What moves the water through the irrigation line is the volume of air being delivered.
That’s why compressor selection needs to consider the system’s zone flow and the equipment’s requirements—not simply the maximum pressure printed on the compressor.
Colorado State University Extension recommends considering the gallons-per-minute flow of each zone when determining compressor requirements.
Hunter likewise emphasizes staying below the pressure rating of the lowest-rated component in the zone being winterized.
In other words:
The goal is controlled water removal, not maximum pressure.
Never Treat a Sprinkler Blowout Like an Air Test
Compressed air deserves respect.
A sprinkler system contains fittings, valves, heads, and other components that can become hazardous if air is introduced incorrectly.
Hunter recommends eye protection and warns against standing over irrigation components while the system is pressurized.
There are also several important rules:
- Don’t exceed the pressure rating of the system components.
- Don’t run compressed air through a backflow preventer.
- Don’t run the compressor with every zone closed.
- Don’t leave the compressor unattended.
- Don’t stand directly over sprinkler heads or exposed components.
- Don’t continue blowing a zone after it is already dry.
- Follow the equipment manufacturer’s requirements.
Compressed air can also heat up when improperly used, and manufacturers warn that continuing to push air through an already dry zone can damage components.
This is one reason professional winterization isn’t simply “rent a compressor and hook it up.”
Work One Zone at a Time
An irrigation system is not one big pipe.
It’s a collection of zones.
Each zone may have different:
- Pipe lengths
- Elevations
- Sprinkler types
- Flow rates
- Pipe materials
- Low spots
- Check valves
- Pressure requirements
Written by: Jeremy Ainsworth